Inspired by all the home improvement shows you watch? Sure, you can also try your hand at plastering your wall. It is your home after all, why should you always rely on outside help?
Besides there are tons of Do It Yourself (DIY) videos and rules to guide you through it. To get started, you should first understand the types of plastering tools you would need. Here is a list:
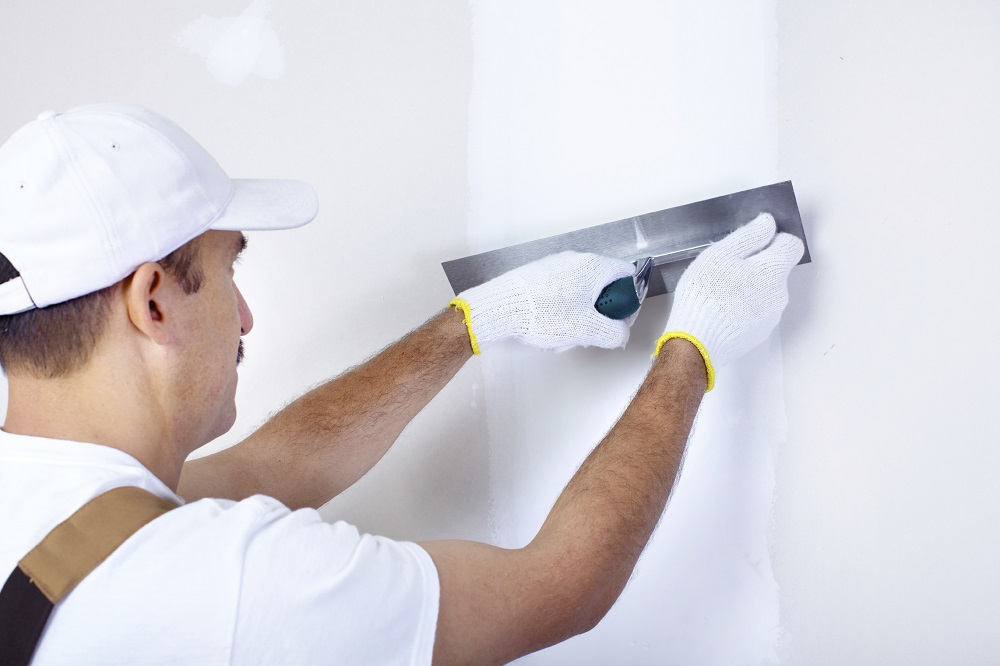
- Trowel
You will definitely need a trowel. This tool is used to flatten the plaster after applying it onto the wall to allow for a smooth finish. There are different varieties of trowels in the market but choose according to the size and the quality.
- Hawk
A hawk is a hand board that holds the plaster for your trowel to scoop from. These come in different types too – aluminum, foam and plastic. It is often said that the foam or plastic ones are easier and lighter to use. Thus, ideal for beginners. The aluminum hawks are much more strong and durable, though very light. However, these are pricier than the others.
A substitute of the hawk is the mud pan. You can avoid spilling material on the floor much better with a mud pan than a hawk. Again, making it a better choice for amateurs.
- Sponge
To smoothen out the unevenness of the wall after plastering, a sponge may come handy. It helps give the wall a perfect texture. If the unevenness is too much, use a sandpaper and then a finer grit to do the same.
- Jointing Knife
This is used to target plastering tight spaces, edges and corners which are hard to plaster and can also be used to pull out a strikingly straight line. There are also angled jointing knives for reaching peculiarly shaped or angled corners and edges.
- Mixer
You need to mix the plaster before using it. Due to the plaster being very thick, using regular objects to mix the plaster can turn out to be really tough. Thus, a strong mixer is needed to for this job.
- Water Brush
A water brush is used on the final coat of plaster. There are times where the plaster sets before you want it to. In such cases, a water brush comes to your rescue.
- Ladder
For the short ones out there, this one is a must for you! You surely know what this tool can be used for – to cover higher walls.
- Buckets
And finally, buckets. You will need two types of buckets – a mixing bucket and a water bucket. A mixing bucket is one in which you can mix the plaster and the other, this can simply be used to get fresh water to keep your hands clean along with your equipment.
So, there you go! If you are interested in plastering, you must see this site. Now that you are clear with the tools to be used, you can actually plunge into the actual process of plastering.